Is your low water pressure turning every shower into a sad trickle and every faucet into a slow filling tap — even though your water bill is normal and nothing dripped overnight? Before you book a $150 to $250 plumber visit, give yourself 15 minutes. A home with low water pressure at every fixture is one of the most predictable plumbing complaints in the country, and the cause is almost always a partially closed main shut-off, a clogged faucet aerator, a failing pressure regulator, mineral buildup at the shower head, or a leak somewhere upstream — all of which a homeowner can diagnose with a flashlight, a pair of pliers, and a few minutes of patience.

Why low water pressure is rarely a “bad pipe” problem
Plumbers see this call constantly, and they’ll tell you the breakdown looks like this: roughly 30% are clogged faucet aerators and shower heads, 20% are a partially closed main or water-meter shut-off valve, 15% are a failing pressure-reducing valve (PRV) at the main supply, 15% are a slow leak somewhere in the house silently stealing flow, 10% are municipal supply issues affecting the neighborhood, and only the final 10% are corroded galvanized pipes that genuinely need a plumber. Walk the seven steps below in order and you’ll almost always land in the cheap, fast DIY zone — usually under 20 minutes from a trickling shower to a strong, steady spray.
Tools you actually need
- A flashlight or phone torch
- Adjustable wrench and channel-lock pliers
- A bucket and a $5 jug of plain white vinegar
- A pressure gauge with a 3/4-inch hose-bib thread ($12 at any hardware store)
- An old toothbrush for scrubbing aerator mesh
Step 1: Confirm it’s house-wide or just one fixture
This sounds obvious until you’ve watched a plumber bill someone $120 to point at one faucet. Walk every fixture in the house — kitchen sink, every bathroom sink, every shower, the tub, the washing-machine hookup — and run hot then cold at each one. If only one or two are weak, your low water pressure problem is local to those fixtures (jump to Step 4). If every faucet in the house is weak, it’s an upstream supply problem (continue to Step 2). And note whether hot, cold, or both are affected — cold-only weakness across the house means the issue is before the water heater; hot-only weakness means the heater is the suspect.
Step 2: Check the main shut-off valve — the embarrassing miss
This single step solves a fifth of all low water pressure calls outright. Find the main shut-off where the water service enters your house — usually near the water meter in the basement, crawl space, or a utility closet. Most are either a lever (parallel to the pipe = fully open) or a wheel handle (turn counter-clockwise until it stops, then back a quarter turn). A valve that’s been partially closed since the last plumbing repair, or a worn gate valve that won’t fully open anymore, can throttle your entire house. While you’re there, also check the shut-off at the water meter at the curb if it’s accessible — the municipal utility may have left it partially closed after maintenance.
Step 3: Measure pressure with a gauge at the hose bib
Screw a pressure gauge onto an outside hose bib (or the cold-water hookup on the washing machine), turn the water on full, and read the dial. Normal residential pressure sits between 45 and 75 PSI. Below 40 PSI explains your low water pressure complaint, and above 80 PSI is its own problem — it’ll prematurely fail water heaters, dishwashers, and washing-machine hoses. The U.S. Environmental Protection Agency’s WaterSense program publishes typical residential pressure ranges. If the gauge reads low and you’ve confirmed the main is fully open, the next likely suspect is the pressure-reducing valve at the supply (Step 6).
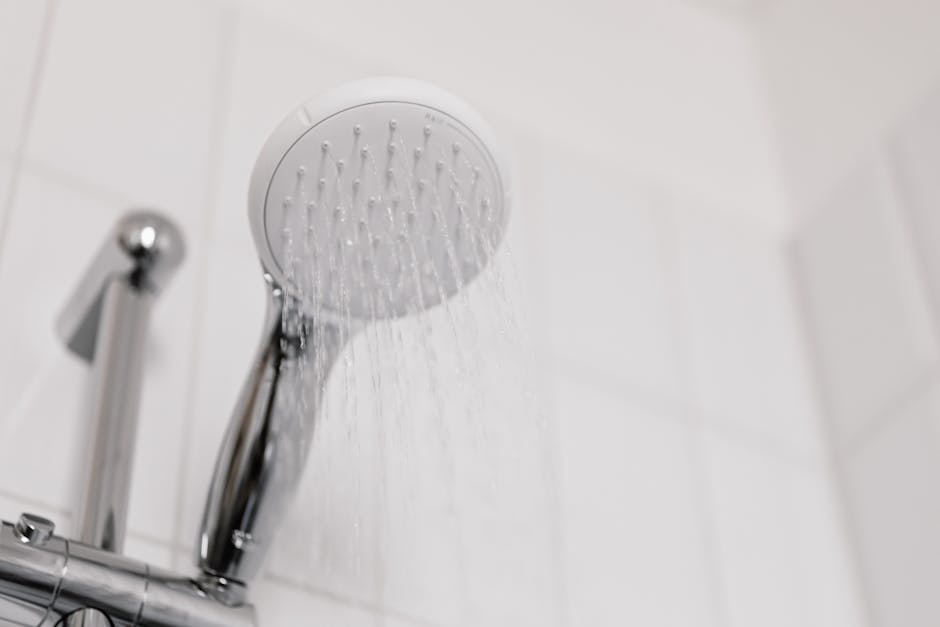
Step 4: Clean the faucet aerator and shower head
For low water pressure at a single fixture, the aerator is your culprit 90% of the time. Unscrew the small mesh cap at the tip of the faucet by hand (or wrap a rag and use pliers if it’s stuck), pull out the screens, and you’ll find a layer of sand, mineral flakes, and rubber bits from old plumbing repairs blocking the flow. Drop everything into a small dish of white vinegar for 30 minutes to dissolve mineral scale, scrub with an old toothbrush, rinse, and reassemble. The same trick works for shower heads — either unscrew the head and soak it, or tie a vinegar-filled plastic bag around the head in place using a rubber band for an hour. The CDC’s drinking water scaling page covers why mineral buildup happens, especially in hard-water regions.
Step 5: Check for hidden leaks — the silent flow thief
A slow leak inside a wall, under the slab, or at a corroded fitting can quietly steal enough flow to mimic low water pressure across the whole house. Make sure nothing in the house is running (no toilets refilling, no ice maker filling, no dishwasher), then go look at the water meter. The small leak-indicator dial (usually a tiny triangle or star) should be perfectly still. If it’s creeping, you have a leak somewhere — check toilets first (a flapper that doesn’t seal is by far the most common culprit; see our running toilet guide), then walk the basement and crawl space with a flashlight looking for damp spots.
Step 6: Inspect the pressure-reducing valve (PRV)
If your home has a PRV (most homes built after 1980 do, and any home receiving municipal water above 80 PSI is required to have one), it sits just downstream of the main shut-off and looks like a bell-shaped brass device with an adjustment screw on top. PRVs fail with age — sometimes locking pressure too low, sometimes letting it spike too high. A clockwise turn of the adjustment screw raises pressure; counter-clockwise lowers it. Make small quarter-turn adjustments, then re-read the gauge from Step 3. If turning the screw makes no difference, the PRV diaphragm is shot and the unit needs replacing — a 90-minute job for a confident DIYer or the legitimate use of a plumber. A persistent low water pressure problem combined with a non-responsive PRV is the most common reason for a real service call here.
Step 7: Test the water heater for hot-only weakness
If only your hot water is weak everywhere, the water heater is the bottleneck. Sediment builds up at the bottom of the tank over years and partially obstructs the hot-water outlet. Drain a few gallons through the heater’s drain valve into a bucket — if rusty or muddy water comes out, the tank needs a full flush. While you’re at it, check the heater shut-off valve at the cold inlet for a partial close. If the issue isn’t sediment, walk through our companion guide on a water heater with no hot water — it covers tank diagnosis end to end.

When to actually call a plumber
Bring in a pro if: the meter shows a leak you can’t locate, pressure stays below 30 PSI after every DIY step, the PRV won’t respond to adjustment, you have older galvanized pipes (silver-gray, threaded fittings — replacement is a real job), or your low water pressure shows up alongside discolored or strange-smelling water (a sign of a corroded supply line). Those are the rare cases — for everything else, you’ve just saved a service call.
How to prevent the next low water pressure call
- Soak every aerator and shower head in vinegar once a year — ten-minute job, huge payoff.
- Drain a few gallons through the water heater’s drain valve every six months to flush sediment.
- Check the meter monthly for the silent leak-indicator dial movement.
- Re-verify the main shut-off is fully open every time a plumber leaves — many techs habitually leave it slightly throttled.
- Replace failing toilet flappers immediately — they’re the #1 hidden flow drain in any home.
Related quick-fix guides
If your plumbing is having a bad week, our walkthroughs on a running toilet, a burst pipe or major water leak, and a stubborn kitchen sink use the same diagnostic playbook as this guide. And if the warm-water side is the real complaint, the water heater no hot water piece covers tank diagnosis end to end.
Final word
Nine times out of ten, a low water pressure problem is a $0 aerator soak, a quarter-turn at the main shut-off, or a $25 pressure-gauge confirmation that the municipal supply is fine — not a $250 plumber visit. Walk these seven steps in order, soak those aerators yearly, and the next weak-shower morning won’t ruin your day.
Marcus Reed is coverhub.fun’s lead contributor on home plumbing and water-system repair. Drawing on more than a decade of hands-on residential service work — supply lines, drains, fixtures, and the kind of emergency leaks that wake a family up at 2 a.m. — Marcus translates the diagnostic playbook that professionals run on every call into language a homeowner can follow at the kitchen sink. His guides walk through the safe, fast checks worth doing before you reach for the phone, plus the exact red flags that mean it really is time to bring in a licensed plumber.
He focuses on the high-cost emergencies that most often catch people unprepared: burst pipes, running toilets that quietly inflate water bills, kitchen drains that back up at the worst time, and shut-off valves no one can find when water is already on the floor. Every guide is written from a ‘try this first’ mindset, with clear safety stops along the way.
Marcus is also the editorial fact-checker for coverhub.fun’s plumbing category. If you have a fix that worked at your house and isn’t covered yet, or a correction on something that is, email editorial@coverhub.fun and he’ll take a look.