If your dishwasher not draining has you staring at a pool of cloudy water at the bottom of the tub, do not call the repairman yet. A standing-water dishwasher is one of the most over-billed service calls in the appliance world — a typical visit runs $150 to $300, and in most cases the actual fix takes 15 minutes with a wet/dry vacuum or a single twist of a clogged hose. This guide walks you through the same six checks an appliance tech runs before they even unscrew the kick plate.

Why your dishwasher not draining is rarely a broken pump
Pumps fail eventually, but they are nowhere near the most common cause when a dishwasher is not draining. The real culprits, in order of how often techs find them, are: a clogged filter, food debris in the drain hose, a kinked hose, a stuck check valve, a plugged air gap, and a clogged garbage disposal that shares the same drain line. Five of those six fixes cost nothing and take less than fifteen minutes. Start at the top of the list and you will almost certainly stop before you hit “pump.”
Safety first: cut the power and the water
- Flip the breaker labeled “dishwasher” or “kitchen” off at the panel.
- Turn off the under-sink shut-off valve for the dishwasher line.
- Lay a towel and bucket under the door — the tub still holds a gallon or two.
The OSHA lockout/tagout guidance applies to home work too: never trust a switch alone, pull the breaker.
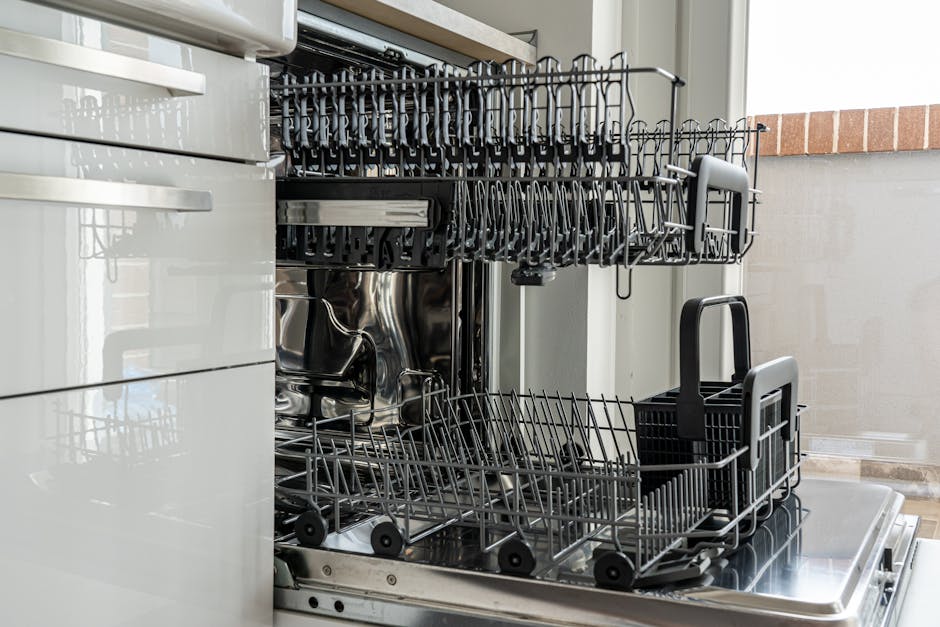
Step 1: Bail out the standing water
You cannot diagnose a dishwasher not draining while the tub is full. Scoop the water out with a plastic cup into the bucket, then sponge the last half-inch. A wet/dry shop vac will do this in 60 seconds if you have one. Dry the tub bottom so you can clearly see the filter and sump area.
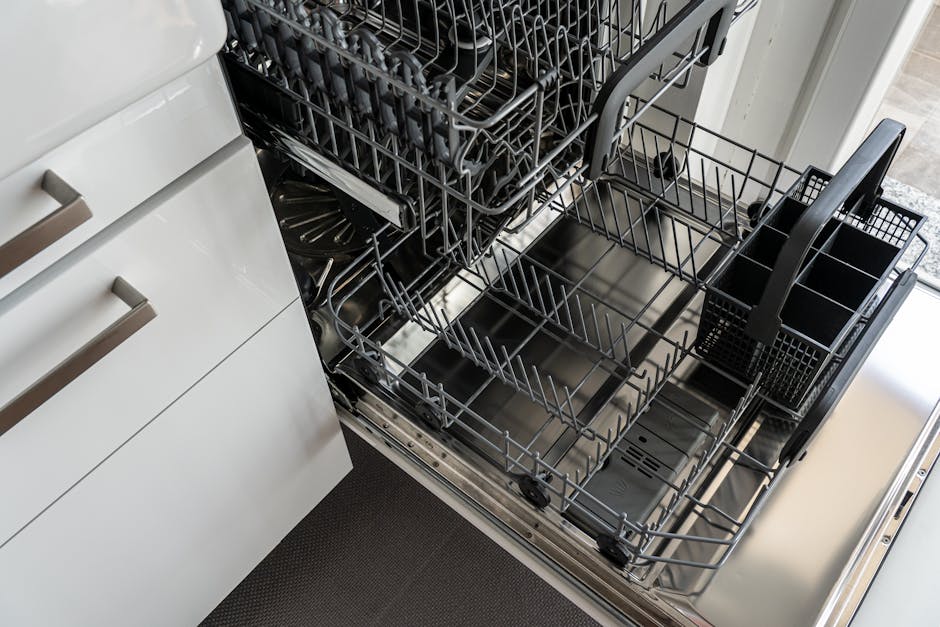
Step 2: Clean the filter (the #1 cause)
Pull the bottom rack out. In the back-center of the tub you will see a cylindrical filter that twists counter-clockwise to unlock. Lift it out along with the flat mesh screen underneath. Rinse both under hot tap water with an old toothbrush — you will be shocked at the layer of grease, paper labels, and food gunk hiding there. A clogged filter alone causes about 50% of “my dishwasher not draining” complaints, especially on units more than a year old that have never been cleaned. Re-seat the filter (it must twist firmly until the arrows align) and test a short rinse cycle.
Step 3: Check the drain hose for a clog or kink
Open the cabinet under your sink and find the corrugated dishwasher hose. It should rise in a high loop (or connect to an air gap on the counter) before dropping down to the disposal or drain stub. Look for any sharp kinks — recent dishwasher pull-out for cleaning often crimps this hose. If the hose looks fine, disconnect it at the disposal end into a bucket and blow through it; if no air passes, you found your block. A coat hanger or plumbing snake will clear it in seconds. Whirlpool and other manufacturers like Whirlpool support publish exact diagrams for your specific model number if you need a visual.
Step 4: Clear the garbage disposal if you have one
Many homes share a drain between dishwasher and garbage disposal. If the disposal is clogged or, even more often, the knockout plug on a brand-new disposal was never removed, the dishwasher physically cannot drain. Run the disposal with cold water for 30 seconds. If it makes any unusual sound, fix that first — our garbage disposal not working DIY guide walks you through it in ten minutes.
Step 5: Clean the air gap on the countertop
Some kitchens have a small chrome cylinder on the counter behind the faucet — that is the air gap. Twist off the cap, lift out the inner cover, and look for sludge. A blocked air gap is a silent reason a dishwasher not draining shows up after years of perfect operation. Rinse the parts in the sink, snap back on, and run a test cycle.
Step 6: Test the drain pump (only if Steps 1–5 failed)
If you have gone through every check above and the tub still fills with water, the drain pump or check valve is the likely failure. Pull the dishwasher out, remove the lower kick plate, and visually inspect the pump housing for shards of glass or hard debris jammed in the impeller — this is a 10-minute removal on most modern units. A replacement pump runs $40 to $90 online, versus the $250 average a tech will charge for the same part installed.
How to prevent a dishwasher not draining again
- Scrape plates fully — do not pre-rinse. Modern detergents need food residue to activate.
- Run hot water at the sink for 10 seconds before starting a cycle, so the dishwasher fills with hot water from the jump.
- Clean the filter monthly — mark it on the calendar.
- Run an empty cycle once a month with a cup of white vinegar on the top rack.
Signs you should actually call a pro
Real reasons to bring in a tech: water leaking from under the dishwasher (door seal or pump seal), a control board that displays an error code you cannot reset, or a unit that trips the breaker every time it tries to drain. Otherwise, every other “dishwasher not draining” symptom belongs on this DIY list — not on a $250 invoice.
Related quick-fix guides
If your kitchen plumbing is acting up generally, also check our kitchen sink money-pit fixes. And while you are in DIY mode, learn what to do in the first 10 minutes of a burst pipe or water leak and how to handle a sudden AC not cooling situation before the temperature climbs.
Final word
A dishwasher not draining feels like a major appliance failure, but nine out of ten times the problem is a teaspoon of food paste in the filter or a plug in the air gap. Walk the six steps in order, give yourself fifteen minutes, and you will probably skip the service call entirely — and now you know exactly what to do the next time water shows up where it should not.
Aiden Brooks writes coverhub.fun’s home-appliance coverage, with a focus on the everyday breakdowns that prompt a $200–$300 service call when a no-cost fix would have worked just as well. His background in residential appliance service shows up in the structure of his guides: open with the failure pattern, walk through the cheapest checks first, and only get to parts replacement after every easy win has been ruled out.
Aiden focuses on dishwashers, garbage disposals, washing machines, dryers, and refrigerators — the workhorses that quietly drain household budgets when they go sideways. His recurring theme is that most ‘broken appliance’ verdicts are really a clogged filter, a kinked drain hose, a tripped thermal switch, or a piece of glass jammed in an impeller that sixty seconds with a flashlight can find. When a unit really is at end of life, he’ll tell you that too — and what to look for in a replacement.
Aiden also runs the appliance-safety editorial pass at coverhub.fun: every guide on his byline is reviewed against manufacturer safety guidance before going live. Reach him at editorial@coverhub.fun.