
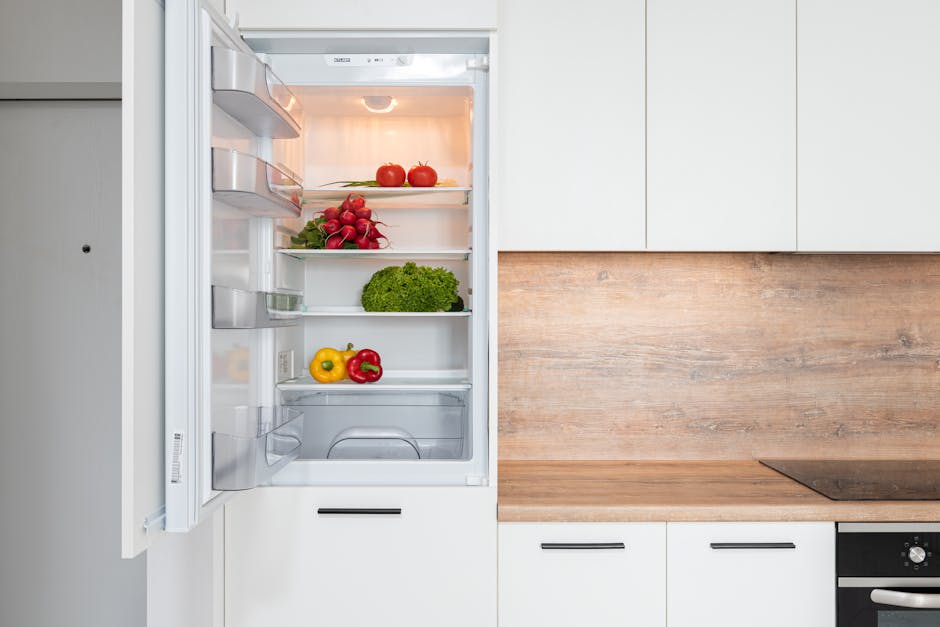
A refrigerator leaking water — you walk into the kitchen and find a puddle creeping out from under the fridge, water pooling inside the produce drawers, ice melting onto the lower shelves, or a stain spreading across the laminate floor in front of the unit — is one of the most common appliance complaints in any U.S. kitchen and one of the most consistently misdiagnosed. People assume the fridge is “dying” or the compressor is leaking refrigerant; in reality almost every refrigerator leaking water complaint traces back to plain condensate water that simply has nowhere to go because a small drain is plugged with food paste and ice. Before you book a $140 appliance service call, give yourself 30 minutes. A refrigerator leaking water is almost always one of five things: a clogged defrost drain at the back of the freezer, a frozen or kinked water-supply line behind the unit, a cracked or loose water-filter housing, a slipped door gasket that lets warm humid air condense inside, or an out-of-level cabinet that tips condensate toward the front instead of the rear drip pan. Walk through the six checks below before spending a dollar.

Why a refrigerator leaking water is almost never a “replace the appliance” problem
Appliance technicians see this complaint daily in summer and the failure breakdown is consistent across every major brand. Roughly 45% of every refrigerator leaking water call is a defrost drain plugged with food residue and ice at the back of the freezer compartment — condensate that should run down a small tube and evaporate from a pan beneath the unit instead overflows into the lower freezer and seeps out the front. Another 20% is a partially frozen or kinked plastic water-supply line behind the unit, often pushed against the wall when the fridge was last moved for cleaning. About 15% is a water-filter housing leaking around a worn O-ring or a cartridge that was installed slightly off-axis. About 10% is a tired door gasket pulling air full of summer humidity into the cabinet, where it condenses on the cold walls and runs out the door seam. Another 5% is a fridge that has shifted out of level over the years and now drains forward instead of backward into the evaporator pan. Only the final 5% is a genuine evaporator-pan crack or a compressor refrigerant issue. The math is friendly: 95% of refrigerator leaking water calls are something a careful homeowner can resolve in one Saturday afternoon.
Tools you actually need
- A turkey baster and a quart of warm tap water
- A small flashlight and a long zip tie or pipe cleaner
- A microfiber towel and a roll of paper towels
- A bubble level (the small 9-inch carpenter style is fine)
- A 1/4-inch nut driver or a flat screwdriver
- A fresh water filter cartridge if yours is more than 6 months old
Before you start: unplug the refrigerator at the wall and pull it forward 6 to 12 inches so you can reach the back. Slip a folded towel under the front feet so the rolling cart of a fridge doesn’t gouge the kitchen floor. Wipe up every drop of standing water you can see — a refrigerator leaking water diagnosis depends on watching where new water appears, and you can’t see new water if old water is still pooled around the base. If the freezer compartment is icing up on the back wall before water appears, the diagnostic also overlaps with our freezer not freezing walk-through, which covers the same defrost-cycle hardware from the cold-side complaint.
Step 1: Clear the defrost drain at the back of the freezer
This is the single highest-payoff move for any refrigerator leaking water diagnosis and the most-skipped piece of maintenance in any kitchen. Empty the freezer compartment into a cooler. Pull off the rear interior panel — on most top-freezer and side-by-side units it’s held by 2 to 4 quarter-inch screws across the bottom edge and lifts off after the screws are out. Behind it you will see the evaporator coil, the defrost heater, and at the bottom of the trough a small drain hole roughly the diameter of a pencil. That is the defrost drain. Run the flashlight on it — you’ll almost certainly see a plug of ice and brown food paste filling the hole. Push the zip tie or pipe cleaner gently down the hole to break the plug, then use the turkey baster to flush a quart of warm tap water through. The water should run clear and disappear within seconds; if it backs up, repeat until it drains cleanly. About 50% of homeowners with this complaint are done at this single step.
Step 2: Inspect the water-supply line behind the unit
With the fridge already pulled out, trace the small plastic or copper water line from the wall connection to the back of the cabinet. Run your hand along its full length and look for: a sharp kink where the fridge was last pushed back too close to the wall, a wet patch around the compression fitting at the wall valve, a wet patch around the fitting at the back of the fridge, or a section that feels cold and hard from being pinched against the wall and freezing intermittently. A refrigerator leaking water at the very back of the cabinet, where the puddle is wider in the rear than the front, almost always traces to this line. Tighten any compression fittings a quarter turn with the nut driver, replace any kinked section with a fresh length of 1/4-inch poly tubing from the hardware store, and leave a generous loop of slack so the line is never under stress when the fridge is rolled back into place.
Step 3: Check the water filter housing and ice maker line
If your unit has an in-door water dispenser or an internal ice maker, the next suspect is the filter housing. Locate the filter cartridge — usually in the upper-right corner of the fresh-food compartment or behind a grille at the base — and remove it. Inspect the O-ring on the cartridge head: if it looks flat, glazed, or shows a hairline crack, that is your leak. Replace the cartridge with a fresh OEM or OEM-equivalent unit and twist it firmly into the locked position. A refrigerator leaking water on the inside of the fresh-food compartment, with the puddle centered under the filter housing, is this exact problem 9 times out of 10. The same OEM-spec discussion applies to the ice maker fill line, which is covered in our ice maker not working walk-through.
Step 4: Level the cabinet front-to-back
A refrigerator is engineered to sit with its front edge about 1/4 inch higher than its back edge, so condensate inside the cabinet runs toward the rear drain instead of forward to the door. Lay the bubble level on top of the door, front to back. If the bubble shows a dead-level reading or tips forward, your fridge has settled over the years and the drainage path has been working uphill. Adjust the two front leveling feet upward with a wrench until you see the bubble move slightly toward the back of the level. This single adjustment fixes about 5% of all refrigerator leaking water complaints and prevents a number of unrelated future problems with door swing and gasket seal.
Step 5: Test the door gasket seal
Slip a fresh dollar bill into the door seam, close the door normally, then pull the bill out. You should feel firm even resistance all the way around — top, bottom, and both sides. Walk the bill around the full perimeter of both the fresh-food and freezer doors. Anywhere it slides out with no resistance, the gasket has flattened or pulled loose from its track. A bad gasket lets warm humid kitchen air enter the cold compartment, where it condenses on the walls and runs out the door seam — a refrigerator leaking water from underneath the door rather than from inside is almost always this problem. A new gasket is about $40 and snaps into a track around the door perimeter in about 20 minutes. The same gasket-seal discussion explains a lot of complaints we cover in the refrigerator not cooling walk-through.
Step 6: When to actually call a tech
Call a pro only if: defrost drain is clear, water line is intact, filter is fresh and seated, cabinet is level, and gasket passes the dollar-bill test, yet a refrigerator leaking water complaint persists. That combination points to a cracked evaporator drip pan beneath the unit (a $70 part but the entire compressor and condenser sit on top of it, so labor is real), a failed defrost timer that lets ice build up beyond what the drain can ever clear, or a slow refrigerant leak that drops cabinet temperatures and creates abnormal condensation patterns. Also call if you see brown or rust-colored water rather than clear — that suggests a corroded condensate pan that needs replacement before it leaks through to a finished floor or ceiling below. The U.S. Department of Energy publishes Energy Star’s refrigerator guidance on lifecycle and maintenance economics — useful reading when deciding whether a 15-year-old unit is worth a $300 repair or whether a replacement makes more long-run sense. For the broader food-safety angle on temperature recovery after any compartment leak or warm-up event, the USDA refrigeration and food safety guide is worth bookmarking.
One last habit: flush the defrost drain with warm water twice a year (spring and fall), check the door gasket with a dollar bill at the same time, and never push the fridge tight against the wall — leave at least an inch of clearance so the water line behind the unit can sit in a relaxed loop. Those three rules will keep a refrigerator leaking water from showing up in your kitchen for the next decade and let you forget the condensate system exists, which is exactly where it belongs. The cheapest repair is the one you prevent.
Aiden Brooks writes coverhub.fun’s home-appliance coverage, with a focus on the everyday breakdowns that prompt a $200–$300 service call when a no-cost fix would have worked just as well. His background in residential appliance service shows up in the structure of his guides: open with the failure pattern, walk through the cheapest checks first, and only get to parts replacement after every easy win has been ruled out.
Aiden focuses on dishwashers, garbage disposals, washing machines, dryers, and refrigerators — the workhorses that quietly drain household budgets when they go sideways. His recurring theme is that most ‘broken appliance’ verdicts are really a clogged filter, a kinked drain hose, a tripped thermal switch, or a piece of glass jammed in an impeller that sixty seconds with a flashlight can find. When a unit really is at end of life, he’ll tell you that too — and what to look for in a replacement.
Aiden also runs the appliance-safety editorial pass at coverhub.fun: every guide on his byline is reviewed against manufacturer safety guidance before going live. Reach him at editorial@coverhub.fun.