
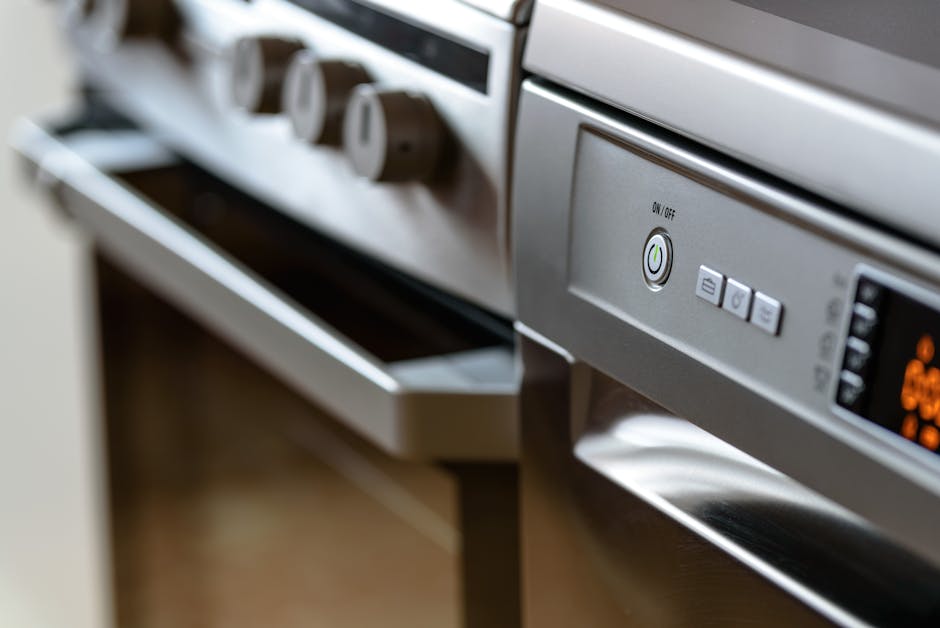
If your oven not heating properly is currently holding hostage Sunday dinner, a birthday cake, or a sheet pan of frozen pizza, take a breath: this is one of the cheapest appliance failures to diagnose at home, and you can almost always pin down the cause in 20 minutes without opening a service manual. A modern oven not heating is a problem with exactly one of five parts — the bake element, the broil element, the igniter (on gas), the temperature sensor, or the control board — and four of those five are visible, testable, and replaceable for under $40 in parts. Walk through the seven steps below in order before you book a $150 appliance call.

Why “oven not heating” is rarely a whole-appliance failure
Appliance technicians track this call by failure mode, and the breakdown is remarkably stable across brands. Roughly 35% of every oven not heating complaint is a burned-out bake element (electric ovens), 20% is a weak igniter that’s no longer pulling enough current to open the gas valve, 15% is a failed oven temperature sensor reading wildly off-spec, 15% is a tripped breaker, a loose plug, or the oven simply being in a delay-start or sabbath mode the owner forgot about, 10% is a thermal fuse that opened after a self-clean cycle, and only the last 5% is a true control-board failure. Notice which of those is most expensive — and notice it’s the rarest. The math is firmly on your side.
Tools you actually need
- A Phillips screwdriver and a quarter-inch nut driver
- A $15 digital multimeter (any model with a continuity beep)
- A flashlight
- An oven thermometer ($8 at any grocery store) — the single most useful $8 you’ll ever spend on an oven
- Work gloves — the metal edges inside a range cavity are sharp
Step 1: Confirm it’s actually an oven not heating problem — not a setting
Embarrassing but true: a meaningful share of “oven not heating” calls turn out to be a delay-start timer left on from yesterday, a sabbath mode triggered by accidentally pressing two buttons, a “lock” or “child lock” indicator, or convection mode that the owner didn’t realize lowers displayed temp. Power-cycle the breaker for 60 seconds, then look closely at the display for any of those indicator words. Try a basic bake at 350°F for 15 minutes with an oven thermometer on the middle rack. If the oven climbs above 200°F at all, the heat source is working — you have a calibration or sensor issue (Step 5), not a dead element.
Step 2: Check the breaker, the plug, and the gas valve
An electric oven is on a dedicated 240-volt double-pole breaker. If one of the two poles trips, the cooktop will work but the oven won’t — classic half-power symptom for an electric oven not heating. Open your panel, find the oven breaker (usually a tied pair labeled “RANGE” or “OVEN” at 30A or 40A), flip both poles fully off, then back on. While you’re there, see our quick walkthrough on a breaker that keeps tripping — it’s the same procedure. For a gas oven, walk to the shut-off valve behind the range and confirm the handle is parallel to the gas line (open), not perpendicular (closed).
Step 3: Inspect the bake element (electric ovens)
Pull the racks out and look at the bottom heating element. A healthy element is uniform dark gray. A failed element shows one of three obvious tells: a visible burn-through gap, a blistered bubble where the metal sheath has split, or a bright shiny spot where it arced. Any of those mean the element is open and is the cause of your oven not heating. Replacement is a $25 part and a 15-minute swap: turn the breaker off, unscrew the two retaining screws on the back wall of the oven cavity, pull the element forward to expose its two wire spades, and transfer them to the new element. Tug-test each spade so it stays connected. The Consumer Reports range buying guide notes that bake elements are the single most-replaced part on electric ranges — this is a routine repair.
Step 4: Watch the igniter (gas ovens)
On a gas oven not heating, the most common failure isn’t the gas valve — it’s the igniter that opens the valve. Turn the oven to 350°F, kneel in front of it, and watch through the oven door window for 60 to 90 seconds. A healthy igniter glows bright orange and the burner ignites with a soft whoosh within a minute. A weakening igniter glows dim or red instead of orange and never gets hot enough to open the safety gas valve — so you see glow but no flame. That’s a $25 to $40 part. While you’re at the igniter, also verify the bake burner tube isn’t blocked with spilled food debris.
Step 5: Test the oven temperature sensor
If your oven heats but not to the right temperature — cakes come out raw in the middle, cookies burn at 350°F, the broiler works fine but bake is feeble — suspect the temperature sensor. It’s the small metal probe poking out of the back wall of the oven cavity. With the oven cold and the breaker off, unscrew the sensor’s two mounting screws, pull it forward an inch to expose the connector, and measure resistance with your multimeter set to ohms. A healthy sensor reads about 1080 to 1100 ohms at room temperature; anything outside 1000 to 1150 means a bad probe. New sensor: $20, ten-minute swap. The U.S. Fire Administration also reminds homeowners never to use a self-clean cycle as a diagnostic step — that’s how thermal fuses pop in the first place.
Step 6: Check for a tripped thermal fuse after a self-clean
Did you run the self-clean cycle in the last week and now your oven is not heating at all? Almost certainly a blown thermal fuse on the back of the range. The self-clean cycle runs at 900°F and routinely cooks the very fuse meant to protect the appliance from overheating. The fuse is a $10 part on the back panel of the oven, accessible after pulling the oven away from the wall and removing the rear cover. It’s a one-shot device: test it with your multimeter on continuity — if it doesn’t beep, it’s blown and must be replaced. Many modern ovens won’t even display an error for this; they just refuse to heat.
Step 7: When to call a real appliance tech
Call a pro only if: you’ve replaced the bake element or igniter and the oven still won’t heat, the control board displays a hard error code starting with “F” (those are board-side faults), you smell raw gas at the regulator after Step 4, or your oven is under manufacturer warranty — opening the back will void it. Everything else is a homeowner job. Pair this oven not heating routine with the same DIY mindset behind a fridge that won’t cool and a dryer that’s lost its heat — the diagnostic logic is nearly identical: confirm power, inspect the element, test the sensor, swap the cheap part. Most “oven not heating” complaints are a $25 element and 20 minutes of your Saturday afternoon, not a Monday service call.
One last tip: keep that $8 oven thermometer on the middle rack permanently. Most modern ovens drift 25 to 50 degrees over five years even when nothing has “failed” — that’s not a true oven not heating problem, it’s a calibration drift, and almost every model has a hidden offset adjustment in the menu. Five minutes with a thermometer and the user manual will save you a baking-disaster diagnosis later.
Aiden Brooks writes coverhub.fun’s home-appliance coverage, with a focus on the everyday breakdowns that prompt a $200–$300 service call when a no-cost fix would have worked just as well. His background in residential appliance service shows up in the structure of his guides: open with the failure pattern, walk through the cheapest checks first, and only get to parts replacement after every easy win has been ruled out.
Aiden focuses on dishwashers, garbage disposals, washing machines, dryers, and refrigerators — the workhorses that quietly drain household budgets when they go sideways. His recurring theme is that most ‘broken appliance’ verdicts are really a clogged filter, a kinked drain hose, a tripped thermal switch, or a piece of glass jammed in an impeller that sixty seconds with a flashlight can find. When a unit really is at end of life, he’ll tell you that too — and what to look for in a replacement.
Aiden also runs the appliance-safety editorial pass at coverhub.fun: every guide on his byline is reviewed against manufacturer safety guidance before going live. Reach him at editorial@coverhub.fun.