A thermostat not working properly is the single most common HVAC complaint in American homes — the screen goes blank, the heat won’t kick on, the AC blows lukewarm air, or the temperature reading is off by ten degrees. Before you book a $120 HVAC service call to diagnose a $4 battery, give yourself 15 minutes. A thermostat not working is almost always one of five things: dead batteries, a tripped fuse on the furnace control board, a loose wire behind the wall plate, a stuck schedule or lock setting, or a failed mercury bulb in an old mechanical unit. Walk through the seven steps below before you call anyone.

Why a thermostat not working is the cheapest HVAC fix you’ll ever do
HVAC techs see this call constantly, and they all describe the same distribution. Roughly 40% of every thermostat not working complaint is simply dead AA or AAA batteries the homeowner forgot existed. About 20% is a tripped 3-amp blade fuse on the furnace control board (yes, your furnace has a tiny automotive-style fuse most homeowners never see). Another 15% is a wire that worked loose at one of the terminal screws — usually the C wire, the common power line. About 10% is a schedule, lock, or hold setting that was bumped on accident. Around 10% is a wax-melt or mercury switch that has finally died on a 30-year-old mechanical Honeywell. And the final 5% is a genuinely failed digital control board, the one expensive thing on the list. So: the math is 95% in your favor.
Tools you actually need
- A fresh pack of AA or AAA batteries (check the back of your unit)
- A Phillips screwdriver and a small flathead
- A flashlight or phone torch
- A spare 3-amp blade fuse from any auto parts store (about $2)
- A digital multimeter ($15) — optional but useful for Step 6
- A pencil and your phone — take a picture of the wiring before you touch anything
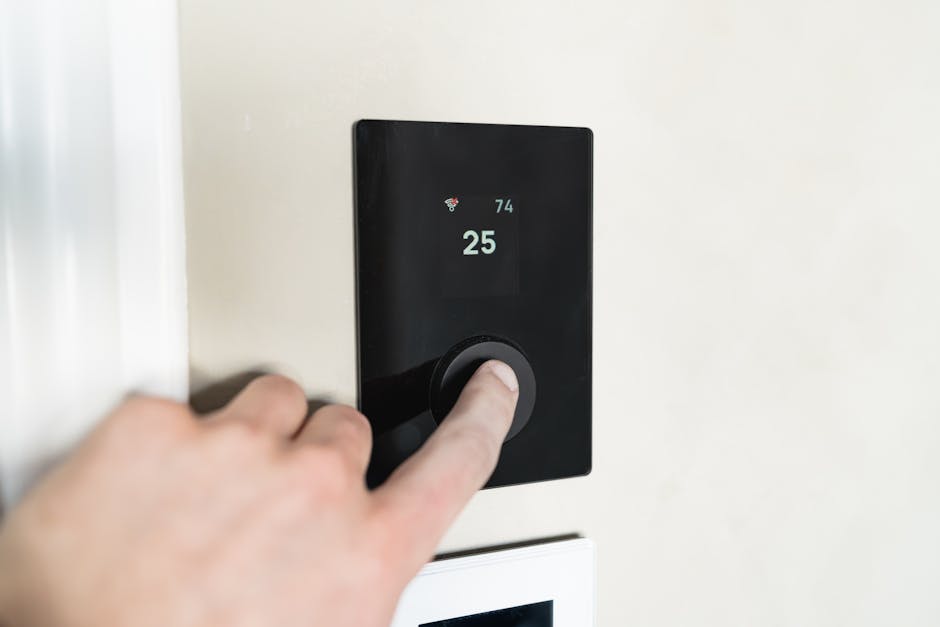
Step 1: Confirm the thermostat not working state is real
Walk to the wall and watch the screen. Is it truly blank, or just dim? Press any button. If it lights up at all, the unit has power but isn’t calling for heat or cool — that’s a setting problem (Step 4), not a power problem. If the screen stays dead even when you press buttons, you have a true power failure (Step 2). And while you’re there, look for words on the display you might have missed: HOLD, SCH, AWAY, LOCK, or a small lock icon all change behavior dramatically. The same kind of “is it actually broken” check we recommend for a furnace that won’t blow hot air applies to a thermostat not working call: half the calls are settings, not hardware.
Step 2: Swap the batteries (yes, even if you just replaced them)
Most digital thermostats run on two AA batteries, even when the HVAC system itself is wired in — the batteries power the display and memory. Pop the cover off the wall plate (most snap off; some pivot up; a few need a slide-down motion), pull the old batteries, and put fresh alkaline ones in. Avoid lithium and rechargeable cells — they put out the wrong voltage curve for these units and a fresh lithium battery will sometimes register as “low” on a thermostat designed for alkaline. If the screen comes alive immediately, you’re done in 90 seconds. If it doesn’t, continue.

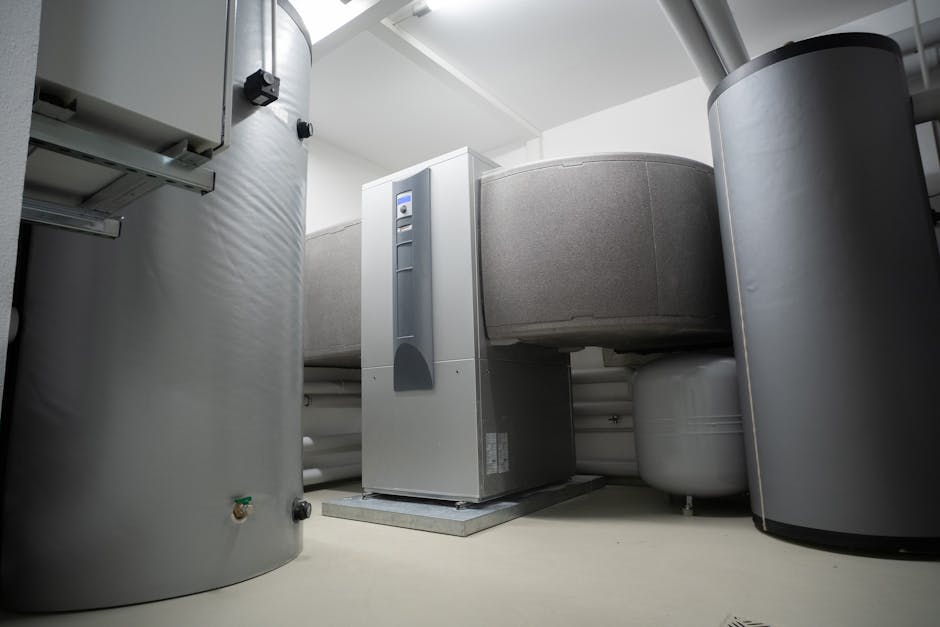
Step 3: Check the furnace door switch and 3-amp fuse
If batteries didn’t fix the thermostat not working condition, head to the furnace. There’s a small interlock switch on the access door (looks like a refrigerator light switch) that cuts all power to the control board if the panel is loose or off. Push the door back firmly. Then remove the access panel and find the control board — usually a green PCB with a 3-amp automotive blade fuse, often labeled “F1” or “FUSE”. Pull it. Hold it to the light. If the thin wire across the top is broken, the fuse is blown and the thermostat got starved of 24-volt power. Replace with an identical 3-amp fuse (not 5-amp, not 7.5-amp — that defeats the protection). Reinstall and try the thermostat again.
Step 4: Verify mode, schedule, and lock settings
If the screen lights but the system never kicks on, you have a setting issue. Check four things in order: (1) mode — is it on HEAT or COOL, not OFF? (2) Setpoint — is the target temperature actually warmer (or cooler) than the current room temp? Most units have a 1-2°F deadband so a setpoint within one degree of room temp won’t trigger anything. (3) Schedule and HOLD — if HOLD is on, you’re locked to a fixed setpoint that may be way off; if it’s running a schedule, you may be in a “Sleep” or “Away” block. Press HOLD to override. (4) Lock — a child lock, vacation lock, or installer lock can silently prevent any changes. The unlock combo is usually printed inside the wall plate or in the manual archived at the U.S. Department of Energy programmable thermostat guide.
Step 5: Re-seat the wires behind the wall plate
Turn the furnace breaker off (this is non-negotiable — 24V can’t kill you, but a short can fry the control board). Pull the thermostat body off the wall plate. You’ll see four to six tiny terminal screws, each with a colored wire. Take a phone photo before doing anything. Now, one wire at a time: loosen the screw, pull the bare copper out by a quarter inch, re-seat it, and tighten firmly. Pay extra attention to R (red, 24V hot), C (blue or black, common), W (white, heat call), Y (yellow, cool call), G (green, fan). A loose C wire is the most common cause of intermittent thermostat not working complaints on smart thermostats specifically, since smart units draw constant power and need a solid common.
Step 6: Test for 24V at the R and C terminals
If you have a $15 multimeter, set it to AC volts, 200V range. Touch one probe to R and the other to C with the thermostat body removed from the wall. You should read 24 to 28 volts AC. No reading? Your transformer at the furnace has failed or a wire is broken inside the wall — that’s the time to call a tech. A reading at the wall but a still-dead thermostat means the unit itself has failed (rare but possible). For old mercury or wax-bulb mechanical thermostats from before 2005, just replace the whole unit with a $25 modern digital one — the old technology is genuinely worn out and not worth fixing. The EPA’s mercury thermostat recycling program will take the old unit for free.
Step 7: When to actually call an HVAC tech
Call a pro only if: you have 0 volts at the R and C terminals (transformer failure), you smell burning electronics inside the furnace cabinet, the new thermostat installs but produces error codes the manual doesn’t list, or your system uses high-voltage line-voltage thermostats (240V baseboard heat) — those genuinely need an electrician. Everything else — including 95% of “no heat, no AC, screen dead” complaints — is a homeowner job that the seven steps above will resolve. While you’re at it, glance at our AC-not-cooling walkthrough and the breaker-tripping checklist — the three problems overlap more than people realize. Most thermostat not working calls end with a $4 battery, a $2 fuse, or no spend at all.
One last tip: change those AA batteries every spring, not when the unit chirps. A low-battery chirp from a thermostat not working all winter is the kind of call that gets booked at $189 for an emergency Sunday service. Set a calendar reminder. Your future cold-Sunday-morning self will thank you.
Elena Park covers home electrical and HVAC topics for coverhub.fun. Her background in residential electrical service work — outlets, breakers, GFCIs, central air conditioning, and the steady stream of small failures that send most homeowners straight to a service tech — shapes the way her guides are written: figure out what’s actually wrong first, then decide whether you’re looking at a $0 reset or a real repair.
Elena focuses on the service calls that most often turn out to be DIY-safe: a single dead outlet that’s really a tripped GFCI two rooms over, a thermostat that’s reading wrong, a clogged AC condensate line, or a frozen evaporator coil masquerading as a dying compressor. She’s just as clear-eyed about the work that does not belong in a homeowner’s hands — anything inside the main electrical panel, any sustained burning smell, any breaker that won’t stay reset.
Each piece on her byline gets a final safety pass before publishing. Suggestions, corrections, and reader questions are welcome at editorial@coverhub.fun.