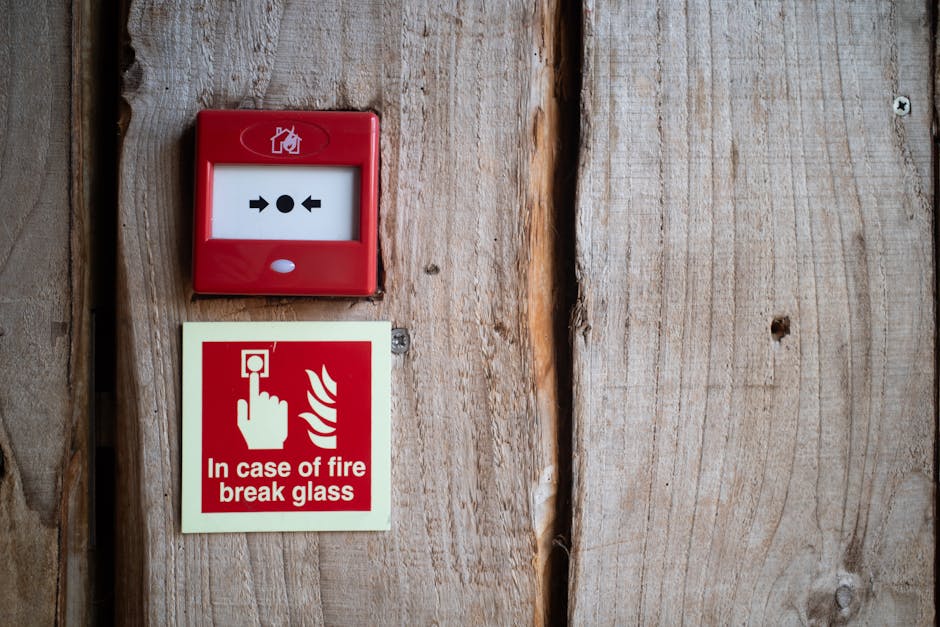
A smoke detector beeping at 3 a.m. is one of the most universally hated sounds in modern home ownership — loud enough to wake the whole house, infrequent enough to be impossible to locate, and just persistent enough to drive a sane person to rip the unit off the ceiling at 4 a.m. Before you climb a ladder with a hammer, give yourself 10 minutes. A smoke detector beeping intermittently — once every 30 to 60 seconds — is almost never an actual fire alert; it’s a low-battery chirp, a dust-fouled sensor, an end-of-life signal, or interconnect crosstalk from another detector in the house. Walk through the six steps below before you call an electrician.

Why a smoke detector beeping is rarely a real fire alarm
Fire safety techs and electricians track this call by symptom, and the breakdown looks like this. Roughly 50% of every smoke detector beeping complaint is a 9V battery that has dropped below the threshold the detector needs to operate — the chirp is the unit warning you it’s about to fail open. About 20% is a unit that has hit its 10-year manufacturer end-of-life and is signaling it must be replaced (the chirp is sometimes paired with a small red LED flashing every 30 seconds). Another 15% is dust, cobwebs, or insect debris inside the sensor chamber tricking it into thinking it sees particulates. About 10% is high humidity from a steamy shower or kitchen pushing the ionization sensor to a false-positive. And only the final 5% is a real wiring fault or genuine smoke event. So: yes, it’s almost always the battery.
Tools you actually need
- A fresh 9V alkaline battery (or two AA, depending on model)
- A sturdy step stool or short ladder
- A can of compressed air or a soft brush vacuum attachment
- A flashlight or phone torch
- A pen and paper — you’ll want to write down the manufacture date
Step 1: Locate the exact smoke detector beeping in your house
If you have more than one detector in the house — and per most U.S. building codes, you should have one in every bedroom, one outside each sleeping area, and one on every floor — locating the actual culprit at 3 a.m. is the hardest part of this job. The chirp echoes, the units can be interconnected, and the human ear can’t reliably triangulate a 3-kHz beep through drywall. The trick: walk slowly to each detector and stand directly underneath while the next chirp fires. The one immediately above you will be noticeably louder. If your detectors are hardwired and interconnected, the entire chain may chirp in sympathy — the lead unit (the one that started it) will usually have a faster blink rate or a small steady red LED.
Step 2: Replace the battery — even on a hardwired smoke detector
This catches roughly half of every smoke detector beeping complaint. Twist the detector counter-clockwise off its ceiling mounting bracket. Open the battery compartment. Pull the old 9V battery out and put a fresh alkaline in — not a lithium, not a “heavy-duty” carbon-zinc, just a fresh alkaline from a name brand. Critically: hardwired detectors still have a battery for backup power, and a dead backup battery makes them chirp even when the AC power is fine. Re-twist the detector onto the bracket, listen for one confirmation chirp, and wait 60 seconds. Silence means you’re done. If the chirp continues at the same interval, the battery wasn’t the issue and you continue to Step 3.
Step 3: Check the manufacture date on the back of the unit
Smoke detectors have a hard end-of-life of 10 years from the date of manufacture — not the date you bought it or installed it, but the date stamped on the back of the unit. After 10 years, the photoelectric or ionization sensor is no longer reliable, and most modern units begin a special end-of-life chirp pattern (often a triple-chirp every 30 seconds) that no battery change will silence. Pull the unit off the ceiling, look at the back label, and find the “Date of Manufacture” or “Manufactured On” stamp. If it’s older than 10 years, the only fix is replacement. The NFPA’s official smoke-alarm guidance confirms the 10-year replacement rule for every brand.
Step 4: Vacuum out dust and insects from the sensor chamber
If the unit is younger than 10 years and the fresh battery didn’t silence the chirp, the next suspect is debris inside the sensor chamber. Cobwebs, dust, paint overspray from a recent renovation, and dead bugs (especially flour beetles and small spiders that love warm electronics) all trigger false particulate readings. With the unit off the ceiling, use a vacuum with a soft brush attachment or a can of compressed air to clean every slot and vent on the unit. Hold compressed air at a slight angle so debris is pushed out, not deeper in. Pop the front cover if your model allows access to the sensor chamber. Reinstall, wait 60 seconds, and check. This single step fixes the majority of remaining smoke detector beeping cases that aren’t battery or age related.
Step 5: Power-cycle the hardwired chain
For hardwired interconnected detectors, the alarm memory can latch — meaning even after the trigger event ends, the unit keeps signaling. To clear it: turn off the breaker labeled “smoke alarms” (or the bedroom/hallway lighting circuit if there’s no dedicated breaker, since most homes share circuits). Wait 60 seconds. Press and hold the TEST button on each detector for 15 seconds to drain residual capacitor charge. Restore power. The chain should beep once on power-up and then stay silent. This power-cycle alone resolves the last 10% of smoke detector beeping cases that survive battery and dust fixes. The same kind of circuit-level reset trick we walk through for a breaker that keeps tripping applies here.
Step 6: When to actually call an electrician
Call a licensed electrician only if: a new battery and a new replacement unit still chirp continuously (the issue is wiring, not the detector), the detector is hardwired but loses AC power constantly while the rest of the circuit works (a loose neutral in the ceiling box), or you smell anything unusual when standing under the detector — that 5% chance of a real fire warning is worth taking seriously. Everything else is a homeowner job. Pair this routine with the same diagnostic mindset you’d use for a thermostat that’s not responding and a dead outlet — small low-voltage devices on the ceiling and wall fail in a predictable order, and 95% of the failures are sub-$10 fixes.
One last habit: replace every 9V battery in every smoke detector in the house when you turn the clocks for daylight saving time. Twice a year, ten minutes total, $20 in batteries. The U.S. Fire Administration’s home smoke-alarm program backs this exact cadence. You will never wake up to a smoke detector beeping at 3 a.m. again — and if a real fire happens, the detector that you maintained will be the one that wakes you up in time.
Elena Park covers home electrical and HVAC topics for coverhub.fun. Her background in residential electrical service work — outlets, breakers, GFCIs, central air conditioning, and the steady stream of small failures that send most homeowners straight to a service tech — shapes the way her guides are written: figure out what’s actually wrong first, then decide whether you’re looking at a $0 reset or a real repair.
Elena focuses on the service calls that most often turn out to be DIY-safe: a single dead outlet that’s really a tripped GFCI two rooms over, a thermostat that’s reading wrong, a clogged AC condensate line, or a frozen evaporator coil masquerading as a dying compressor. She’s just as clear-eyed about the work that does not belong in a homeowner’s hands — anything inside the main electrical panel, any sustained burning smell, any breaker that won’t stay reset.
Each piece on her byline gets a final safety pass before publishing. Suggestions, corrections, and reader questions are welcome at editorial@coverhub.fun.