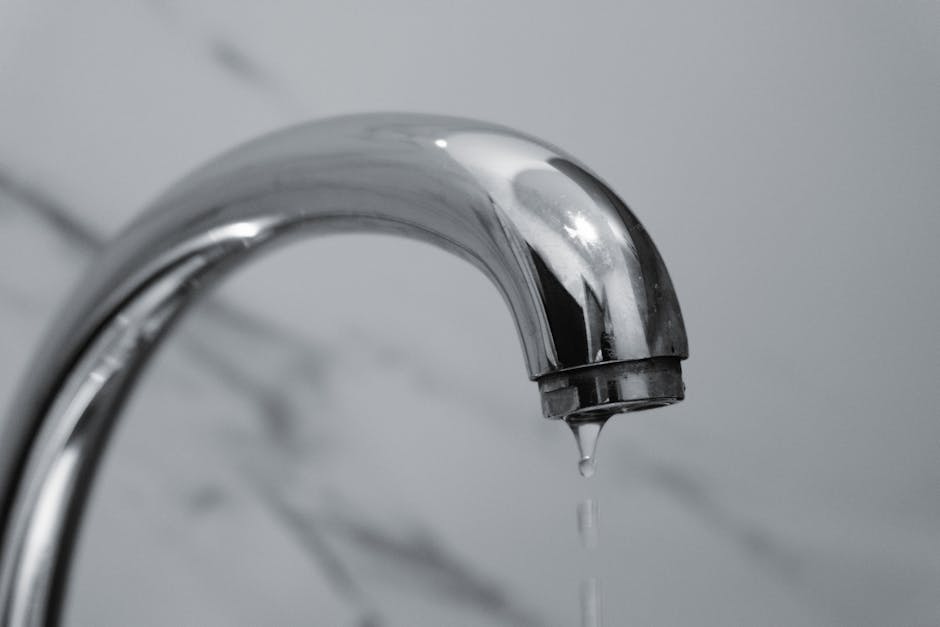
A leaking faucet is the single most-ignored plumbing problem in American homes — and the one that quietly costs you the most. The EPA estimates a leaking faucet that drips once per second wastes more than 3,000 gallons of water per year, which works out to about $35 to $70 on a typical water bill before you even count the wasted heat on the hot side. Worse, the longer you ignore it, the more likely it is to corrode the valve seat, soak the cabinet base, and turn a $5 cartridge swap into a $350 plumber call. Before you book that plumber, give yourself 15 minutes. A leaking faucet is almost always one of four things: a worn rubber washer, a cracked O-ring, a calcified cartridge, or a pitted valve seat. Walk through the six checks below before spending a dollar.

Why a leaking faucet is rarely a “replace the whole faucet” problem
Plumbers see this complaint constantly, and the failure breakdown is remarkably consistent. Roughly 40% of every leaking faucet service call is a worn rubber washer or seat washer on a compression-style faucet — the rubber simply hardens and stops sealing after 5 to 10 years of being squeezed. Another 30% is a cracked O-ring around the spout swivel, especially on single-handle kitchen pulls that get yanked sideways a thousand times a year. About 20% is a calcified ceramic disc or cartridge that scale has roughed up so the two polished faces no longer mate. About 7% is a pitted brass valve seat that needs reseating or replacement. And only the final 3% is a genuinely cracked faucet body that justifies replacing the whole fixture. The math is friendly: 97% of these calls are a sub-$15 part and a 15-minute repair.
Tools you actually need
- An adjustable wrench and a set of Allen keys
- A Phillips and flat-head screwdriver
- Needle-nose pliers
- Plumber’s grease (silicone, not petroleum) and white vinegar
- A bowl and an old towel for the cabinet floor
- A flashlight for the under-sink shutoff valves
Before you start: Close the two shutoff valves under the sink (turn clockwise until snug), then open the faucet to relieve line pressure. If the shutoffs are seized or missing, kill the main — the same logic we walked through for handling a burst pipe in the first 10 minutes applies here. Drop the sink stopper or wedge a rag in the drain so a small screw can’t disappear forever.
Step 1: Identify which type of leaking faucet you actually have
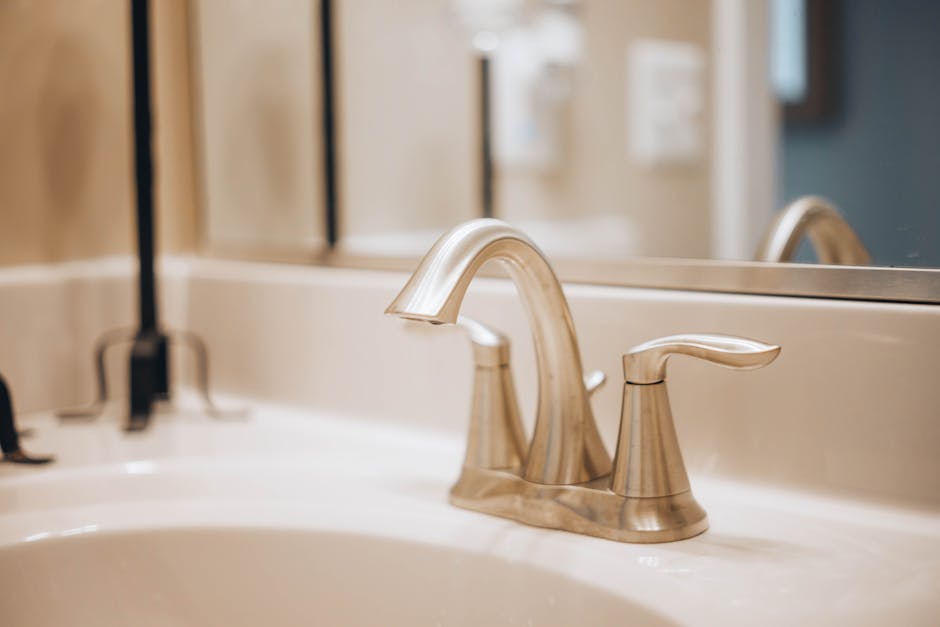
There are four faucet families and the repair is different for each. A compression faucet has two separate hot and cold handles that you screw down to close — if you have to tighten harder over time to stop a drip, it’s compression. A ball faucet is the classic single-lever kitchen design with a rounded cap under the handle. A cartridge faucet uses a single replaceable plastic cylinder and feels smooth through its whole motion. A ceramic disc faucet is the modern single-lever style with a short stiff travel. Look at the faucet from the side, count the handles, and feel the motion — you’ve now narrowed your part list by 75%.
Step 2: Pull the handle and inspect the cartridge or stem
Pry the decorative cap off the top of the handle (a flathead under the cap edge usually pops it loose), undo the single screw underneath, and lift the handle off. On a compression faucet you’ll now see a packing nut and a stem; on a cartridge or disc you’ll see a retaining clip or a brass nut. Unscrew the retainer with the adjustable wrench, then pull the cartridge straight up — do not rock it side to side or you’ll scratch the bore. Lay every part out in the order you removed it. Photograph the orientation with your phone before lifting the cartridge so reassembly is foolproof.
Step 3: Replace the washer, O-rings, or cartridge
Now you can see what’s actually causing the leaking faucet. On a compression stem, look at the rubber washer screwed to the bottom — if it’s flattened, cracked, or discolored, that’s your culprit. A bag of assorted seat washers is $3 at any hardware store. On a cartridge, look at the two black O-rings around the body — if either one is flat-sided, stretched, or missing chunks, replace both (always replace in pairs). On a ceramic disc, look at the two rubber seals on the underside of the cartridge — flip them if they’re not yet hardened, replace them if they are. Coat every new rubber part lightly with silicone plumber’s grease before reinstalling — never petroleum jelly, which destroys rubber. The EPA’s Fix a Leak Week guidance covers the broader water-savings math homeowners often miss.
Step 4: Soak and inspect the valve seat
If the new washer or O-rings didn’t stop the drip, the leaking faucet is telling you the valve seat itself is pitted. Shine the flashlight straight down into the faucet body where the cartridge sat. The brass seat should look smooth and shiny; if you see green corrosion, white scale buildup, or tiny pits, it’s not sealing. For light scale, drop a teaspoon of white vinegar into the bore, let it sit 10 minutes, and scrub gently with a cotton swab. For a truly pitted seat on a compression faucet, you’ll need a $10 seat wrench to unscrew and replace it — a 5-minute job once you have the right tool. For a damaged seat on a cartridge faucet, the cartridge swap usually solves it because the seat is integral to the cartridge.
Step 5: Reassemble and pressure-test
Drop the cartridge or stem back in (in the same orientation as your phone photo), hand-tighten the retainer nut, then snug it with the wrench — about a quarter turn past hand-tight. Overtightening here is how DIYers crack faucet bodies; the brass nut only needs to seat, not be cranked. Reinstall the handle, screw, and decorative cap. Open the shutoffs slowly and watch the faucet body and the supply lines for drips. Turn the handle on and off three times. If you still see drips at the spout, you missed a part in Step 3; if you see drips at the handle base, the upper O-ring isn’t seated — pull the handle and reset it.
Step 6: When to actually replace the whole faucet
Replace the entire fixture only if: the brass body itself is cracked or visibly green-corroded, the chrome plating is flaking off into the sink, the swivel base wobbles after you tighten the deck nut from below, the spout has a hairline crack you can feel with a fingernail, or it’s a 30-year-old faucet that doesn’t meet the modern WaterSense flow standard — a 1.5 GPM replacement pays for itself in two years on the water bill alone. A solid mid-range pull-down kitchen faucet is $80 to $150; a respectable bathroom faucet is $50 to $120; both are a 30-minute install if your shutoffs work. While the faucet is off the deck, also check for related symptoms covered in our low water pressure walk-through and the running toilet guide, because aerator and supply-line issues often hide behind the same leaking faucet complaint.
One last habit: pull the aerator off every six months and soak it in white vinegar overnight, and never crank a faucet handle to the hard stop — “off” is when the water stops, not when the brass refuses to turn further. Those two rules will keep nearly any faucet quiet for the next decade and keep “leaking faucet” from becoming your problem in the first place. The cheapest repair is the one you prevent.
Marcus Reed is coverhub.fun’s lead contributor on home plumbing and water-system repair. Drawing on more than a decade of hands-on residential service work — supply lines, drains, fixtures, and the kind of emergency leaks that wake a family up at 2 a.m. — Marcus translates the diagnostic playbook that professionals run on every call into language a homeowner can follow at the kitchen sink. His guides walk through the safe, fast checks worth doing before you reach for the phone, plus the exact red flags that mean it really is time to bring in a licensed plumber.
He focuses on the high-cost emergencies that most often catch people unprepared: burst pipes, running toilets that quietly inflate water bills, kitchen drains that back up at the worst time, and shut-off valves no one can find when water is already on the floor. Every guide is written from a ‘try this first’ mindset, with clear safety stops along the way.
Marcus is also the editorial fact-checker for coverhub.fun’s plumbing category. If you have a fix that worked at your house and isn’t covered yet, or a correction on something that is, email editorial@coverhub.fun and he’ll take a look.