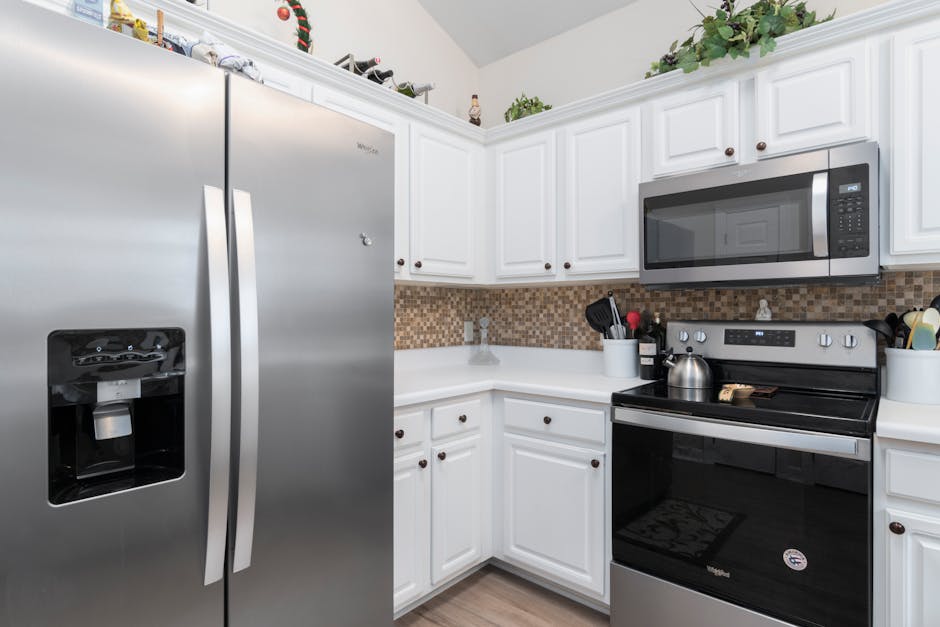
An ice maker not working is one of the most maddening kitchen failures because the rest of the refrigerator looks completely normal — the fridge is cold, the freezer is freezing, the light comes on, but the ice bin is empty or full of one fused, slushy lump. Before you book a $140 appliance service call, give yourself 20 minutes. An ice maker not working is almost always one of five things: a closed water shutoff, a frozen-solid fill tube, a stuck ice-maker arm, a tripped thermostat inside the ice maker module, or a clogged inline water filter that’s three years past its swap date. Walk through the six checks below before spending a dollar.

Why an ice maker not working is rarely a “buy a new fridge” problem
Appliance techs see this complaint constantly, and the failure breakdown is remarkably consistent. Roughly 35% of every ice maker not working service call is a saddle-valve or quarter-turn shutoff under the sink that someone closed during another repair and forgot to reopen. Another 25% is the fill tube at the back of the freezer frozen shut with a plug of ice that traps the next fill. About 20% is a stuck wire bail arm or full-bin sensor that thinks the bin is already loaded. Another 10% is a failed water inlet valve solenoid behind the fridge. Around 7% is an inline water filter that’s 18+ months overdue and now flows at a trickle. And only the final 3% is a genuinely failed ice maker module that justifies the $80 replacement assembly. The math is friendly: 97% of these calls are a sub-$30 repair.
Tools you actually need
- A Phillips screwdriver and a quarter-inch nut driver
- A hair dryer or heat gun on low setting (for the frozen fill tube)
- A flashlight
- A small bowl and an old towel to catch melt-off
- A digital multimeter ($15) for the inlet valve continuity test
- The model number from the sticker inside the fridge door (for filter and module part lookups)
Before you start: Pull the fridge a foot from the wall so you can see the water line and the back coil. Unplug the unit before you touch any wiring inside the freezer. The same general appliance-safety logic from our refrigerator not cooling walk-through applies here word-for-word.
Step 1: Confirm the ice maker is actually turned on
This sounds insulting but it’s the single highest-payoff move. Every ice maker has either a wire bail arm that lifts up to “off” (you’ll see it sitting in the up position even though the bin is empty) or a small power switch behind a hinged door on the module itself. Open the freezer, find the ice maker module, and confirm the bail is down or the switch is set to On. About 1 in 5 ice maker not working service calls end here, because someone bumped the bail while loading a frozen pizza or shut the switch off three months ago to defrost the freezer and forgot. Cycle the bail up and down once to reseat the linkage.
Step 2: Check the water shutoff and supply line
Trace the 1/4-inch copper or plastic tube from the back of the fridge down to the floor and follow it to its source — usually a saddle valve under the kitchen sink or a quarter-turn valve in the basement. Confirm the valve handle is parallel to the pipe (open) and not perpendicular (closed). Disconnect the line at the back of the fridge into a small bowl and briefly open the valve — you should get a strong steady stream. A trickle means the saddle valve is clogged with mineral scale (replace with a quarter-turn valve, a $12 part). No flow means the valve is closed or the line is kinked. While you’re back here, also check whether the cold-water feed is being starved upstream — the diagnostic chain is similar to what you’d run for low water pressure at any fixture.

Step 3: Thaw the fill tube and fill cup
This is the most common cause of an ice maker not working that no one ever checks. The fill tube is the small white plastic spout at the back wall of the freezer that drips water into the ice maker tray. Over time, a slow drip after the fill cycle ends can freeze into a plug of ice that blocks every future fill. Unplug the fridge, pull the ice bin out, and aim the hair dryer at the fill tube on low for 2 to 3 minutes from 8 inches away. You’ll often see a thumb-sized chunk of clear ice drop into the tray. Also melt any ice that has built up in the fill cup at the back of the ice maker module. Plug the fridge back in and wait 90 minutes — if a fresh batch of crescents drops in the bin, you’re done.
Step 4: Swap the water filter
If you have an inline water filter and you cannot remember when you last replaced it, that is your next suspect. Manufacturers spec a 6-month interval, but a filter that’s 18+ months old in hard-water regions will flow at a trickle — not enough volume to cycle the ice maker. Pull the filter cartridge (usually quarter-turn release in the upper-right of the fridge interior or a push-button on the base grille), inspect it for scale and discoloration, and replace it with the correct part number from your fridge’s model sticker. A genuine OEM filter is $35 to $50; a certified third-party equivalent is $15 to $25. NSF’s consumer guide on home water filters covers the certification logic so you don’t buy a filter that under-removes contaminants.
Step 5: Test the water inlet valve solenoid
If shutoff, fill tube, and filter all check out but your ice maker is still not working, the next suspect is the water inlet valve at the lower-back of the fridge. This is the solenoid that opens for 7 seconds at the end of each freeze cycle to refill the tray. Unplug the fridge, pull the lower back panel (4 to 6 Phillips screws), and locate the valve — it has two electrical spades and one or two water-line fittings. Set the multimeter to ohms and test across the spades: a healthy solenoid reads 200 to 500 ohms; an open or shorted reading means the valve is dead. A new inlet valve is $25 to $40 and a 15-minute swap. The failure mode looks similar to what we describe in our dishwasher not draining walk-through because both appliances use the same family of inlet solenoid.

Step 6: When to actually replace the ice maker module
Replace the whole ice maker module only if: the small motor inside the module audibly grinds or won’t index the ejector arm, the optic sensor on a “smart” module reads stuck even with a clean bin, the heater that releases finished cubes from the mold is open-circuit, or the plastic mold itself is cracked. A replacement module for most major brands is $70 to $110 and is a 4-screw, one-connector swap that any homeowner can do in 20 minutes. Replacing the entire refrigerator only makes sense if the compressor or sealed system is also failing — otherwise an ice-only repair is one of the highest ROI fixes in the kitchen. Energy Star’s refrigerator guidance is the cleanest comparison point if you do end up shopping for a full replacement.
One last habit: empty and rinse the ice bin every month (old ice absorbs freezer odors fast), change the inline filter every six months whether or not you think it’s needed, and dump the first 24 hours of new ice after any repair — it’ll have plastic taste from a flushed line. Those three rules will keep nearly any ice maker producing for a decade and keep “ice maker not working” from becoming your problem in the first place. The cheapest repair is the one you prevent.
Aiden Brooks writes coverhub.fun’s home-appliance coverage, with a focus on the everyday breakdowns that prompt a $200–$300 service call when a no-cost fix would have worked just as well. His background in residential appliance service shows up in the structure of his guides: open with the failure pattern, walk through the cheapest checks first, and only get to parts replacement after every easy win has been ruled out.
Aiden focuses on dishwashers, garbage disposals, washing machines, dryers, and refrigerators — the workhorses that quietly drain household budgets when they go sideways. His recurring theme is that most ‘broken appliance’ verdicts are really a clogged filter, a kinked drain hose, a tripped thermal switch, or a piece of glass jammed in an impeller that sixty seconds with a flashlight can find. When a unit really is at end of life, he’ll tell you that too — and what to look for in a replacement.
Aiden also runs the appliance-safety editorial pass at coverhub.fun: every guide on his byline is reviewed against manufacturer safety guidance before going live. Reach him at editorial@coverhub.fun.