Is your dryer not heating while it still tumbles happily for the full cycle — leaving you with a heap of damp clothes and a confused stare? Before you book a $200 to $300 appliance repair visit, give yourself 15 minutes. A dryer that spins but never warms up is one of the most predictable failures in the appliance world, and the cause is almost always a clogged vent, a tripped thermal fuse, a worn-out heating element, or a misread cycle setting — all of which a homeowner can diagnose without removing more than two screws.

Why your dryer not heating is rarely a dead motor
Appliance techs see this call constantly, and they’ll tell you the breakdown looks like this: roughly 40% are clogged vent / lint trap airflow problems, 25% are tripped or blown thermal fuses, 20% are failed heating elements (electric) or igniters (gas), 10% are wrong cycle settings, and the remaining 5% are the rare control-board or thermostat issues that genuinely belong in a pro’s hands. Walk the steps below in order and you’ll almost always land in the first 90% of cases — the cheap, fast, do-it-yourself zone.
Tools you actually need
- A flashlight or phone torch
- A Phillips-head and a quarter-inch nut driver (or socket set)
- A multimeter ($15 at any hardware store) for the thermal-fuse check
- A shop vac or a flexible dryer-vent brush
Step 1: Confirm it’s actually a heat issue, not a settings issue
This sounds obvious until you’ve watched a tech bill someone $150 to point at a knob. Make sure your dryer isn’t on “Air Fluff,” “Air Dry,” or any no-heat cycle — those tumble without warmth by design. Then start a standard “Normal” or “Heavy Duty” cycle, wait three minutes, and put a hand near the door seal. Some warmth means heat works but airflow is restricted (jump to Step 2). Zero warmth at all means a real heating component failure (jump to Step 3). A dryer not heating call that’s really a cycle-knob mistake is the embarrassing one to avoid.
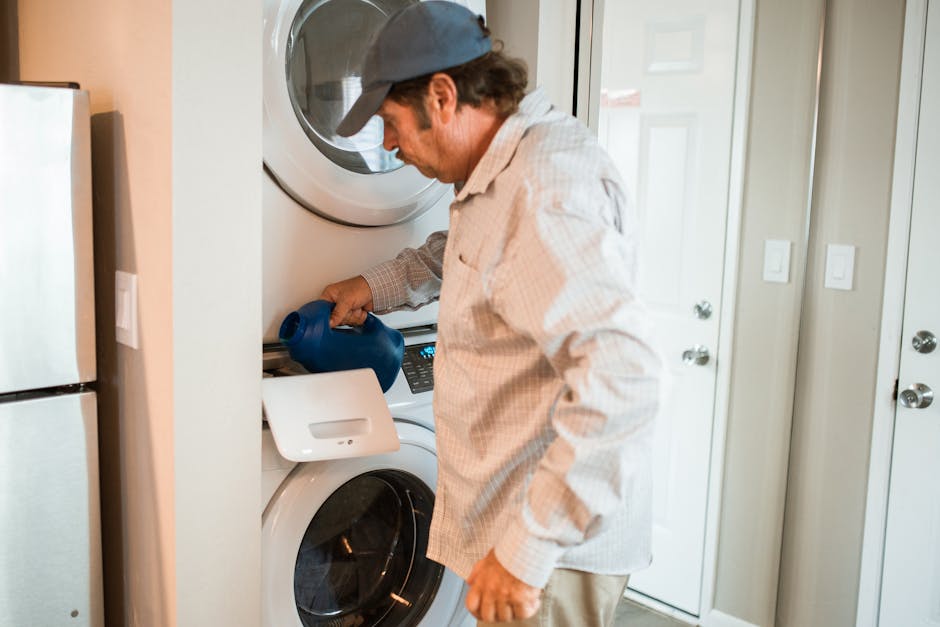
Step 2: Clean the lint trap and the vent hose — really clean them
Pull the lint screen and clean it. Then take it to the sink, scrub it with hot water and dish soap, and hold it up to the light — if water doesn’t pour through freely, the screen is coated in invisible fabric softener residue that’s choking your airflow. After the screen, disconnect the flexible vent hose at the back of the dryer (one clamp), check it for lint blockage, and run a vent brush all the way through. While you’re there, check the exterior vent hood for a stuck flap or a bird’s nest — both are surprisingly common. A restricted vent makes the dryer’s high-limit thermostat shut off heat to prevent a fire, which presents to you as a dryer not heating problem.
This isn’t just a performance fix — it’s a safety one. The U.S. Fire Administration’s dryer-fire prevention page lists clogged lint as the leading cause of dryer fires nationwide.

Step 3: Reset the thermal fuse
If airflow is clear and the dryer not heating problem persists, the next suspect is the thermal fuse — a single-use safety device that blows when the dryer overheats (usually because of the clog you just cleared). On most models, it’s mounted on the blower housing at the back of the dryer. Unplug the unit, remove the back panel (six to eight screws), and find a small white or cream-colored plastic disc with two wire terminals. Pull off the wires and touch your multimeter probes to the two terminals on the continuity setting — a good fuse beeps; a blown one is silent. Replacement fuses cost $5 to $12, and the swap takes under 10 minutes.
Step 4: Check the heating element (electric) or igniter (gas)
If the thermal fuse is fine, the heating component itself is the next stop. On an electric dryer, the heating element is a long coiled wire inside a metal cylinder, usually accessible after removing one side panel. Test resistance with your multimeter set to ohms — a working element reads 10–50 ohms; a broken one reads infinity. Replacement elements run $30–$60 and install with three screws and two wires. On a gas dryer, look for the igniter at the burner assembly — if it doesn’t glow orange when you start a cycle, that’s your culprit. The procedure is well-documented on manufacturer support pages like Whirlpool’s appliance support by model number.
Step 5: Check the circuit (electric dryers only)
Electric dryers run on 240 volts using a double-pole breaker. If half the breaker trips, the dryer will still tumble (powered by 120V) but the heating element won’t fire (which needs the full 240V). At your panel, push both halves of the dryer breaker firmly to OFF, then back to ON. If the dryer not heating issue persists even after a reset, and especially if the breaker keeps tripping, walk through our companion guide on what to do when a circuit breaker keeps tripping before you go further.
Step 6: Listen for the high-limit thermostat
Right next to the thermal fuse on most dryers is the high-limit thermostat — a similar-looking disc that resets itself rather than blowing permanently. If it’s bad, it falsely tells the control board the dryer is overheating, and heat shuts off as a precaution. Test it with the multimeter the same way you tested the fuse — on continuity, it should beep. A bad high-limit thermostat is the same $10 part with the same 10-minute install. Between the thermal fuse, the high-limit thermostat, and the heating element, you’ve now covered every common reason a dryer not heating call ends with a parts swap rather than a service ticket.
When to actually call an appliance repair tech
Bring in a pro if: the breaker trips every time you start the dryer (a shorted element is dangerous to keep resetting), you smell burning rubber or plastic at any point, the control board displays an error code that won’t reset, or the dryer not heating issue survives a full replacement of fuse, element, and high-limit thermostat. Those are the rare cases — for everything else, you’ve just saved a service call’s worth of cash.
How to prevent the next dryer not heating call
- Clean the lint screen every load — not every few loads.
- Vacuum the lint trap housing with a hose attachment once a month.
- Have the full vent run professionally cleaned (or DIY with a vent brush) once a year, per the NFPA dryer maintenance guidance.
- Don’t overload the drum — airflow drops sharply when clothes pack tight.
- Keep the exterior vent hood clear of leaves, snow, and nesting birds.
Related quick-fix guides
If your laundry room is having a bad week, our companion guides on dishwasher not draining and garbage disposal not working follow the same diagnostic playbook. And while you have the multimeter out, also bookmark our guide on what to do when a ceiling fan stops working — same toolkit, completely different room.
Final word
Nine times out of ten, a dryer not heating problem is a $0 vent clean or a $10 thermal-fuse swap — not a $300 service call. Walk these six steps in order, keep your lint trap religiously clean, and you’ll handle the next damp-clothes morning yourself in under twenty minutes.
Aiden Brooks writes coverhub.fun’s home-appliance coverage, with a focus on the everyday breakdowns that prompt a $200–$300 service call when a no-cost fix would have worked just as well. His background in residential appliance service shows up in the structure of his guides: open with the failure pattern, walk through the cheapest checks first, and only get to parts replacement after every easy win has been ruled out.
Aiden focuses on dishwashers, garbage disposals, washing machines, dryers, and refrigerators — the workhorses that quietly drain household budgets when they go sideways. His recurring theme is that most ‘broken appliance’ verdicts are really a clogged filter, a kinked drain hose, a tripped thermal switch, or a piece of glass jammed in an impeller that sixty seconds with a flashlight can find. When a unit really is at end of life, he’ll tell you that too — and what to look for in a replacement.
Aiden also runs the appliance-safety editorial pass at coverhub.fun: every guide on his byline is reviewed against manufacturer safety guidance before going live. Reach him at editorial@coverhub.fun.