A dryer takes too long complaint — two cycles to finish a load that used to take one, jeans that still feel damp after 70 minutes, towels that come out warm but heavy — is one of the most ignored appliance problems in American homes, and the one with the worst hidden cost. A dryer that needs two cycles uses double the electricity or gas, doubles the wear on every motor and belt, and dramatically increases the risk of a lint fire. The U.S. Fire Administration counts roughly 2,900 dryer fires every year, and nearly every one starts with a vent system that was choked with lint long before the owner ever noticed the slow cycles. Before you book a $150 service call, give yourself 30 minutes. A dryer takes too long is almost always one of five things: a lint screen that has slow-flow buildup from fabric softener residue, a clogged transition hose or wall duct, a vent termination at the exterior wall that’s blocked by a bird nest or stuck flapper, a worn drum belt that lets the drum slip during loads, or a thermostat or thermal cutout that’s tripping early and dropping heat. Walk through the six checks below before spending a dollar.

Why a dryer takes too long is rarely a “buy a new dryer” problem
Appliance techs see this complaint constantly, and the failure breakdown is remarkably consistent. Roughly 40% of every “dryer takes too long” service call is a vent path — transition hose, in-wall duct, or exterior termination — that has accumulated enough lint to cut airflow by half. Another 25% is a lint screen that looks clean but has a microscopic film of fabric softener residue that blocks air without showing fuzz. About 15% is an exterior vent flapper stuck closed or blocked by a bird or rodent nest. About 10% is a worn drum belt that slips under heavy wet loads — the drum spins slower than the motor, clothes tumble less, and drying time doubles. About 7% is a high-limit thermostat or thermal cutout that’s tripping at a lower temperature than it should, cutting heat in mid-cycle. And only the final 3% is a genuinely failed heating element (which usually causes “no heat at all” rather than slow heat). The math is friendly: 97% of these calls are something a careful homeowner can resolve themselves.
Tools you actually need
- A vacuum with a long crevice attachment
- A dryer vent brush kit ($20) with a long flexible rod
- A Phillips screwdriver and a quarter-inch nut driver
- Dish soap, a soft brush, and a sink
- A digital thermometer or a kitchen instant-read thermometer
- A flashlight for the exterior vent hood
Before you start: Unplug the dryer (or shut its gas valve and the breaker on a gas unit). The general appliance-safety logic from our dryer not heating walk-through applies here word-for-word — both jobs touch the same hot, lint-loaded, mechanically-stressed assembly.
Step 1: Wash the lint screen with soap and water
This is the single highest-payoff move for a dryer takes too long diagnosis, and almost nobody does it. The lint screen looks clean after every load because the visible fluff comes off easily, but every time you toss in a dryer sheet or use liquid fabric softener, a thin waxy film coats the screen mesh and progressively chokes airflow. Pull the screen out, hold it under the tap, and try to push water through it — on a healthy screen water flows freely; on a coated screen water sits on top like a sieve clogged with grease. Scrub both sides with dish soap and a soft brush, rinse, let air-dry, and reinstall. About 1 in 3 homeowners are done at this single step, with cycle times dropping by 15 to 25 minutes immediately.
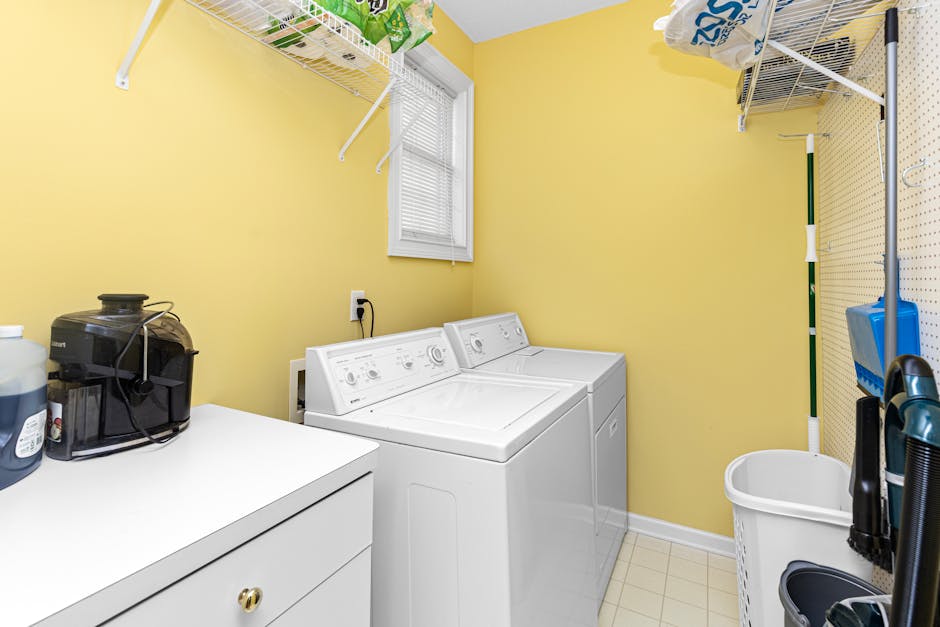
Step 2: Disconnect and inspect the transition hose
Pull the dryer 18 inches from the wall and look at the flexible hose between the dryer and the wall vent. If it’s the corrugated foil “slinky” type, replace it with rigid metal duct or semi-rigid aluminum — the corrugations trap lint at every ridge and are no longer code-compliant in new installs anywhere in the U.S. Loosen the band clamps at both ends, pull the hose off, and look inside. A healthy hose has a light dusting of lint; a problem hose has a baseball of compressed lint somewhere in the middle. Vacuum the hose, the dryer’s exhaust port, and the wall opening before reconnecting. The U.S. Fire Administration’s clothes-dryer safety guidance spells out exactly why corrugated flexible hoses are a fire risk and what to use instead.

Step 3: Brush the wall duct from both ends
With the transition hose disconnected, push the long flexible brush rod from the dryer kit into the wall opening and rotate while you push. Add rod segments as needed and feel for the elbows. Vent runs longer than 25 feet, or with more than two 90-degree turns, are particularly prone to lint accumulation in the bends. Brush all the way to the exterior cap, then go outside and brush back from the other end — this catches the lint that the first pass pushed forward. Vacuum every pile of dust you bring out. Two passes from each direction will pull more lint out of a years-untouched duct than you’d believe possible — sometimes a literal grocery bag full. Reattach the transition hose with band clamps, not duct tape.
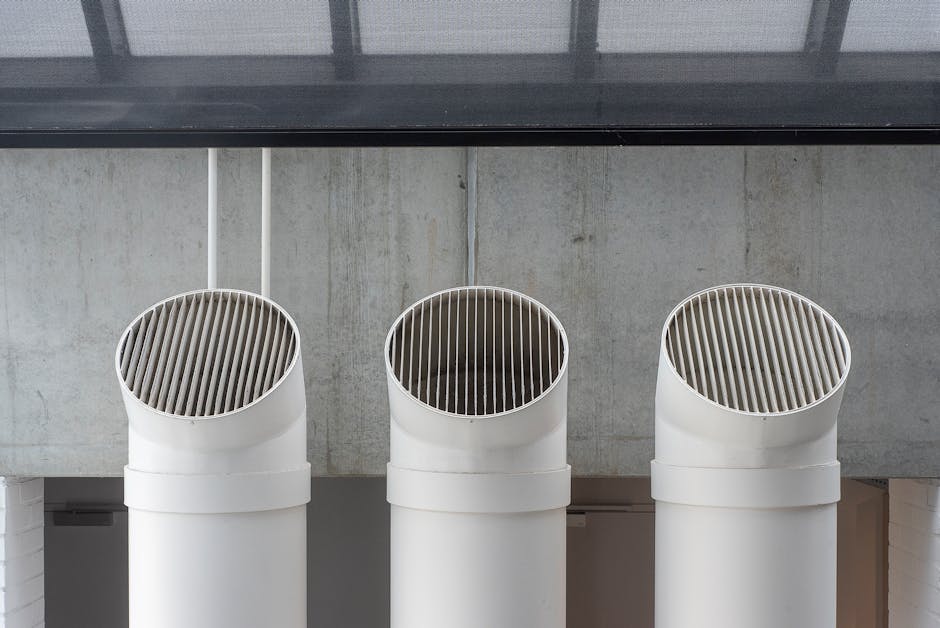
Step 4: Check the exterior vent hood and flapper
Walk outside to the dryer vent termination — usually a louvered hood near the foundation or a flapper cap on the wall. Turn the dryer on a no-heat or air-fluff cycle and check that the flapper opens cleanly under airflow. A flapper stuck closed reduces a dryer to a tumble box with no exhaust path; cycle times double and the unit overheats. Common culprits: paint that sealed the flapper to the hood during exterior repaint, a wasp nest behind the hood, a sparrow that built a nest inside the duct (extremely common in spring), or a screen mesh that’s not code-compliant in the first place. Clean out anything you find, repaint only the hood and not the flapper, and install a $12 metal vent guard that keeps wildlife out but doesn’t trap lint.
Step 5: Verify drum rotation and belt tension
If airflow is now strong and the dryer still takes too long, the next suspect is mechanical. Empty the drum, start a no-heat cycle, and time five full drum rotations. A healthy drum on most U.S. residential dryers spins at roughly 50 to 60 RPM (one rotation per second). If you count noticeably slower, the drive belt is worn or stretched and slipping. Unplug the dryer, remove the top and front panels, and look at the belt — you should see it wrapped once around the drum and routed through a spring-loaded idler. A frayed, cracked, or shiny-glazed belt is a $15 part and a 30-minute swap. Same diagnostic family applies to the spin-down side of our washer not draining walk-through — belts and pulleys age out on a predictable curve.
Step 6: When to actually call a tech
Call a pro only if: the dryer takes too long even with a clean screen, brushed-clear ducts, healthy flapper, and a fresh belt; the drum runs at the right speed but the unit cuts heat halfway through a cycle (high-limit thermostat or thermal cutout failing intermittently — the diagnostic logic from our refrigerator not cooling guide on testing thermostats with a multimeter applies the same way here); or the dryer body itself runs above 150°F where you can touch it on the side — that means the airflow is starving inside the cabinet and you risk a fire. A new heating element on an electric unit is $40 to $80; a new thermal cutout is $15; both are 30-minute swaps with the back panel off. Energy Star’s clothes dryer guide is the cleanest reference point if you do end up shopping for a replacement — a new heat-pump dryer cuts running cost by roughly 28% over a standard electric unit.
One last habit: wash the lint screen with soap once a month, brush the vent duct from end to end every year, and never run a dryer with the lint screen out — lint accumulates instantly inside the housing where you cannot easily clean it. Those three rules will keep nearly any dryer finishing a load in one cycle for the next decade and keep “dryer takes too long” from becoming your problem in the first place. The cheapest repair is the one you prevent.
Aiden Brooks writes coverhub.fun’s home-appliance coverage, with a focus on the everyday breakdowns that prompt a $200–$300 service call when a no-cost fix would have worked just as well. His background in residential appliance service shows up in the structure of his guides: open with the failure pattern, walk through the cheapest checks first, and only get to parts replacement after every easy win has been ruled out.
Aiden focuses on dishwashers, garbage disposals, washing machines, dryers, and refrigerators — the workhorses that quietly drain household budgets when they go sideways. His recurring theme is that most ‘broken appliance’ verdicts are really a clogged filter, a kinked drain hose, a tripped thermal switch, or a piece of glass jammed in an impeller that sixty seconds with a flashlight can find. When a unit really is at end of life, he’ll tell you that too — and what to look for in a replacement.
Aiden also runs the appliance-safety editorial pass at coverhub.fun: every guide on his byline is reviewed against manufacturer safety guidance before going live. Reach him at editorial@coverhub.fun.